


I was shocked at how many of you guys were interested in learning more about all things wallpaper!
I clearly am far from an expert, but if I can do this TWICE with zero experience, you totally can too!
My wallpaper installation post may use affiliate links, which make me a small commission at no cost to you. This supports my blog so I can keep creating content. I hope you find this tutorial on how to hang wallpaper helpful!
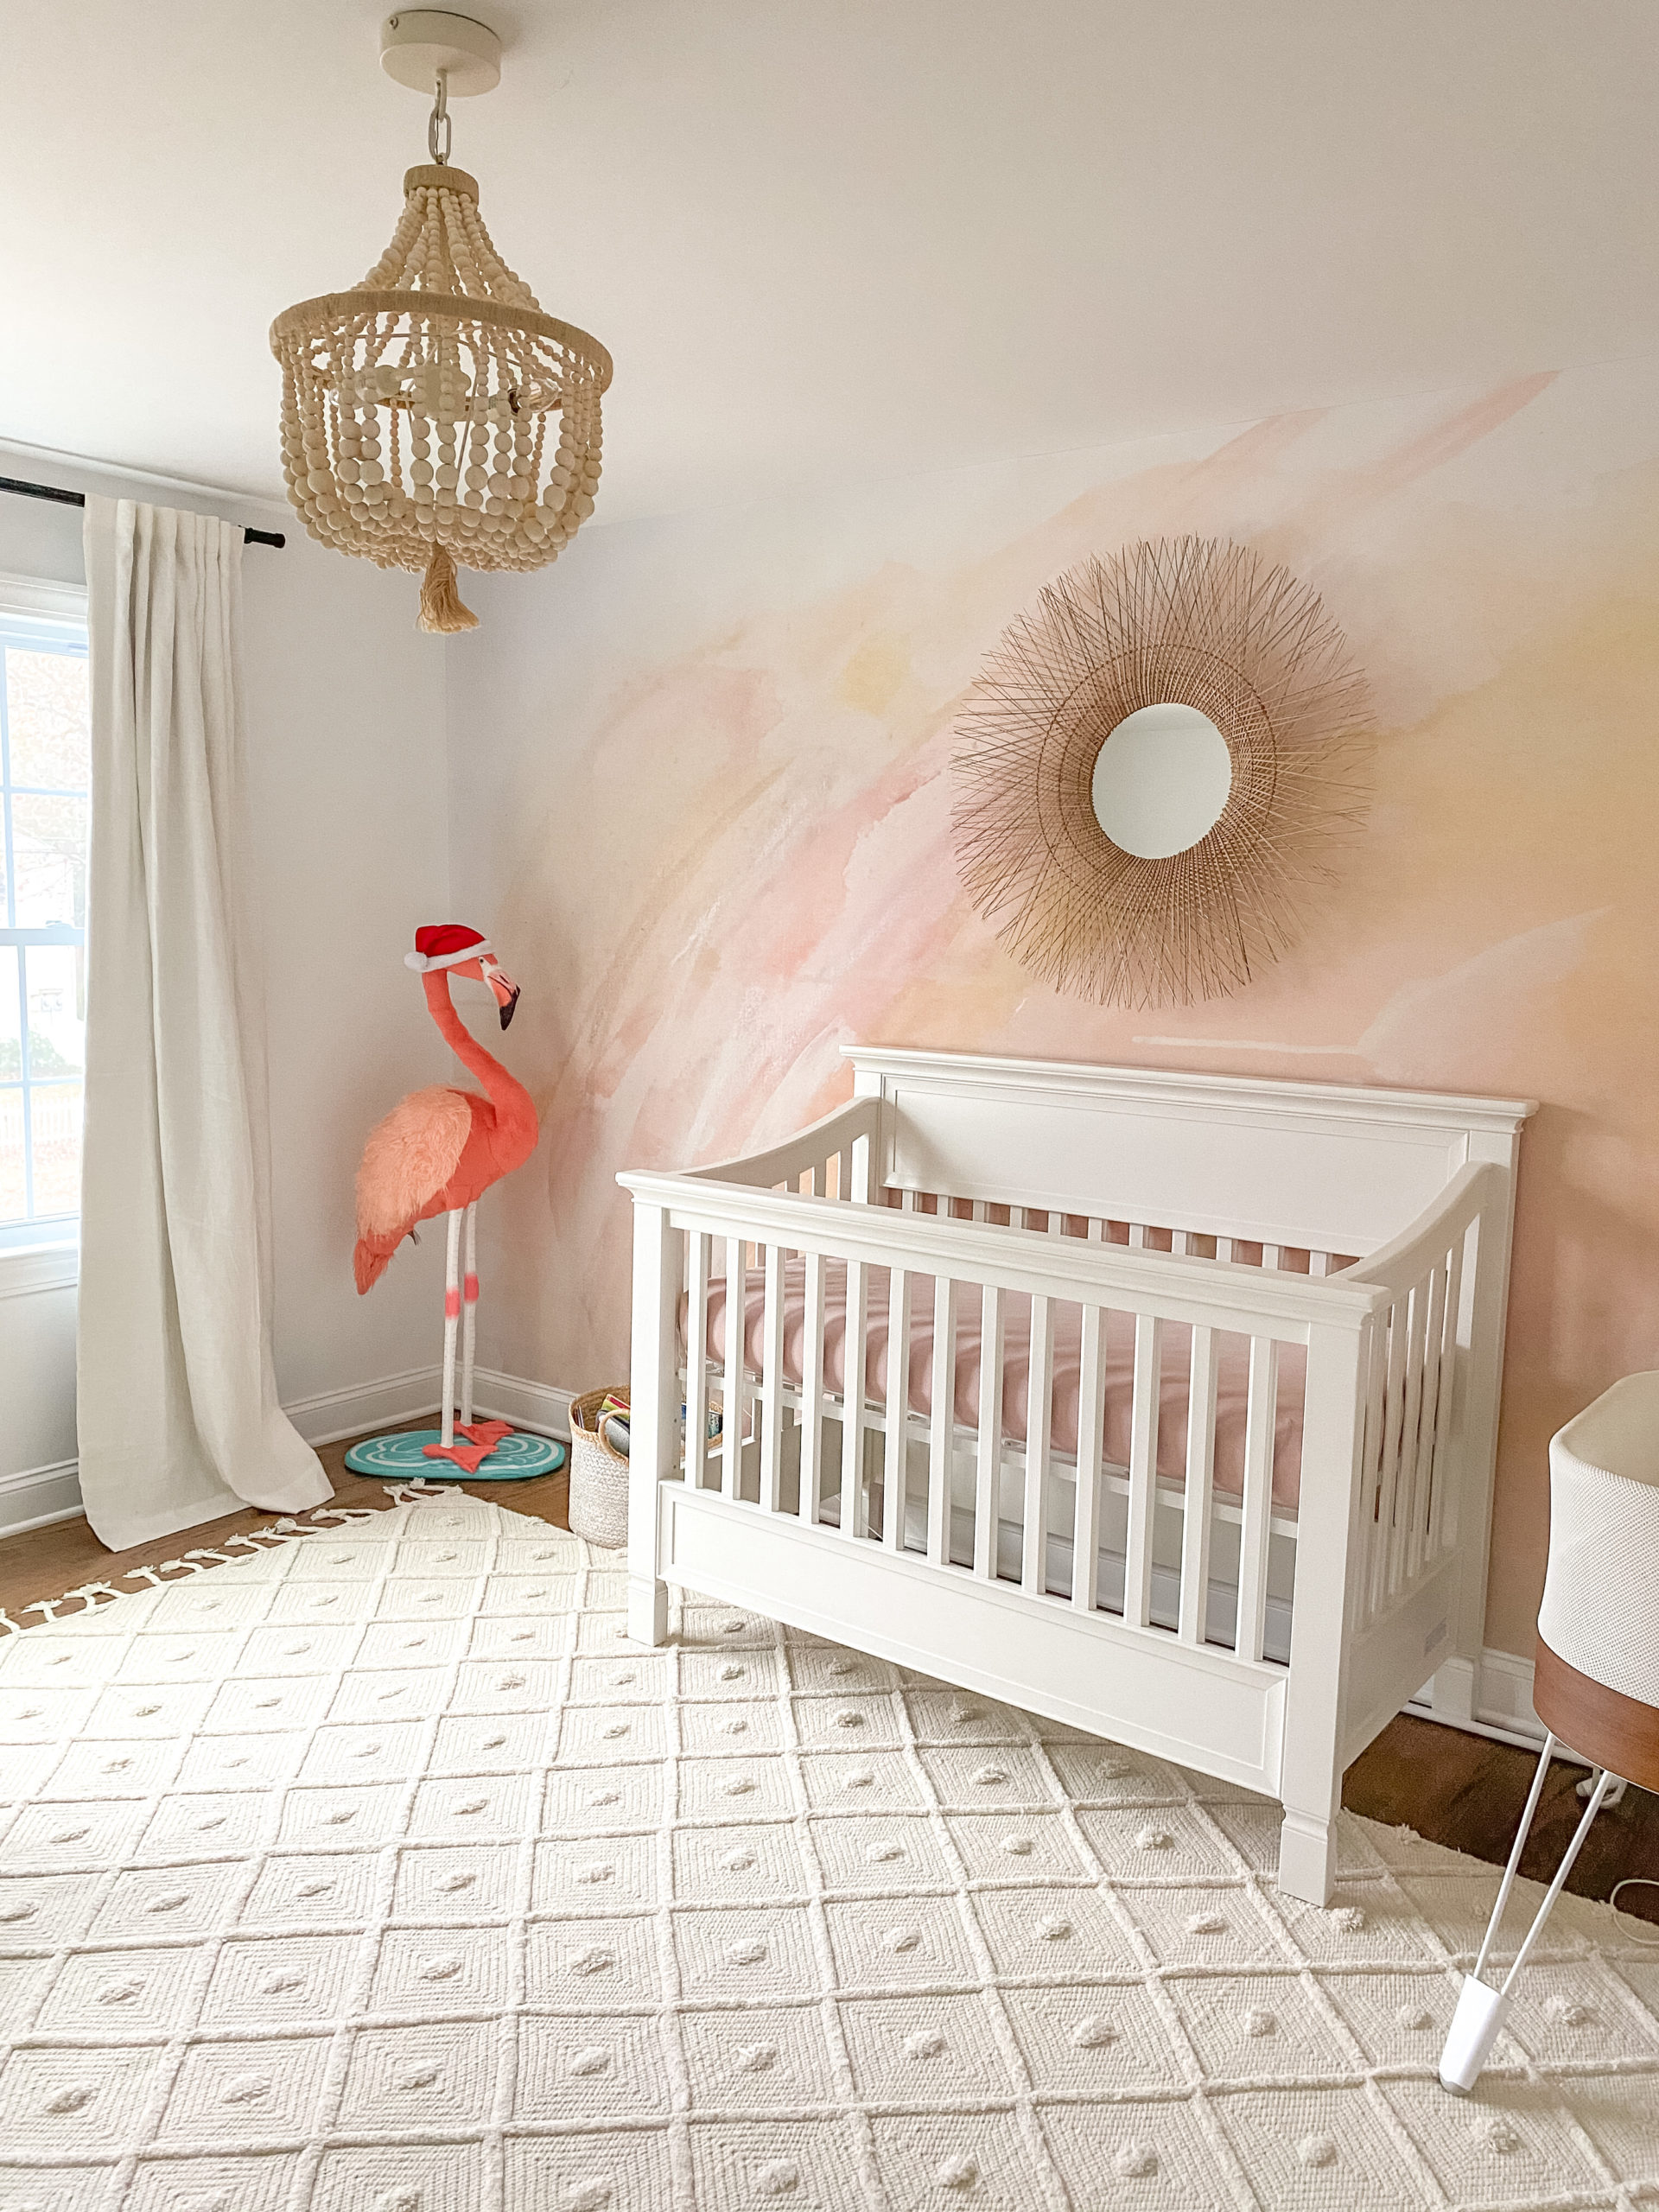
Willow has a beautiful mural from Anewall that was generously gifted to me. The pre-pasted Sandie Mural was the first experience my husband and I have ever had with wallpaper of any kind (and we did this when I was in my 3rd trimester — not something I recommend).
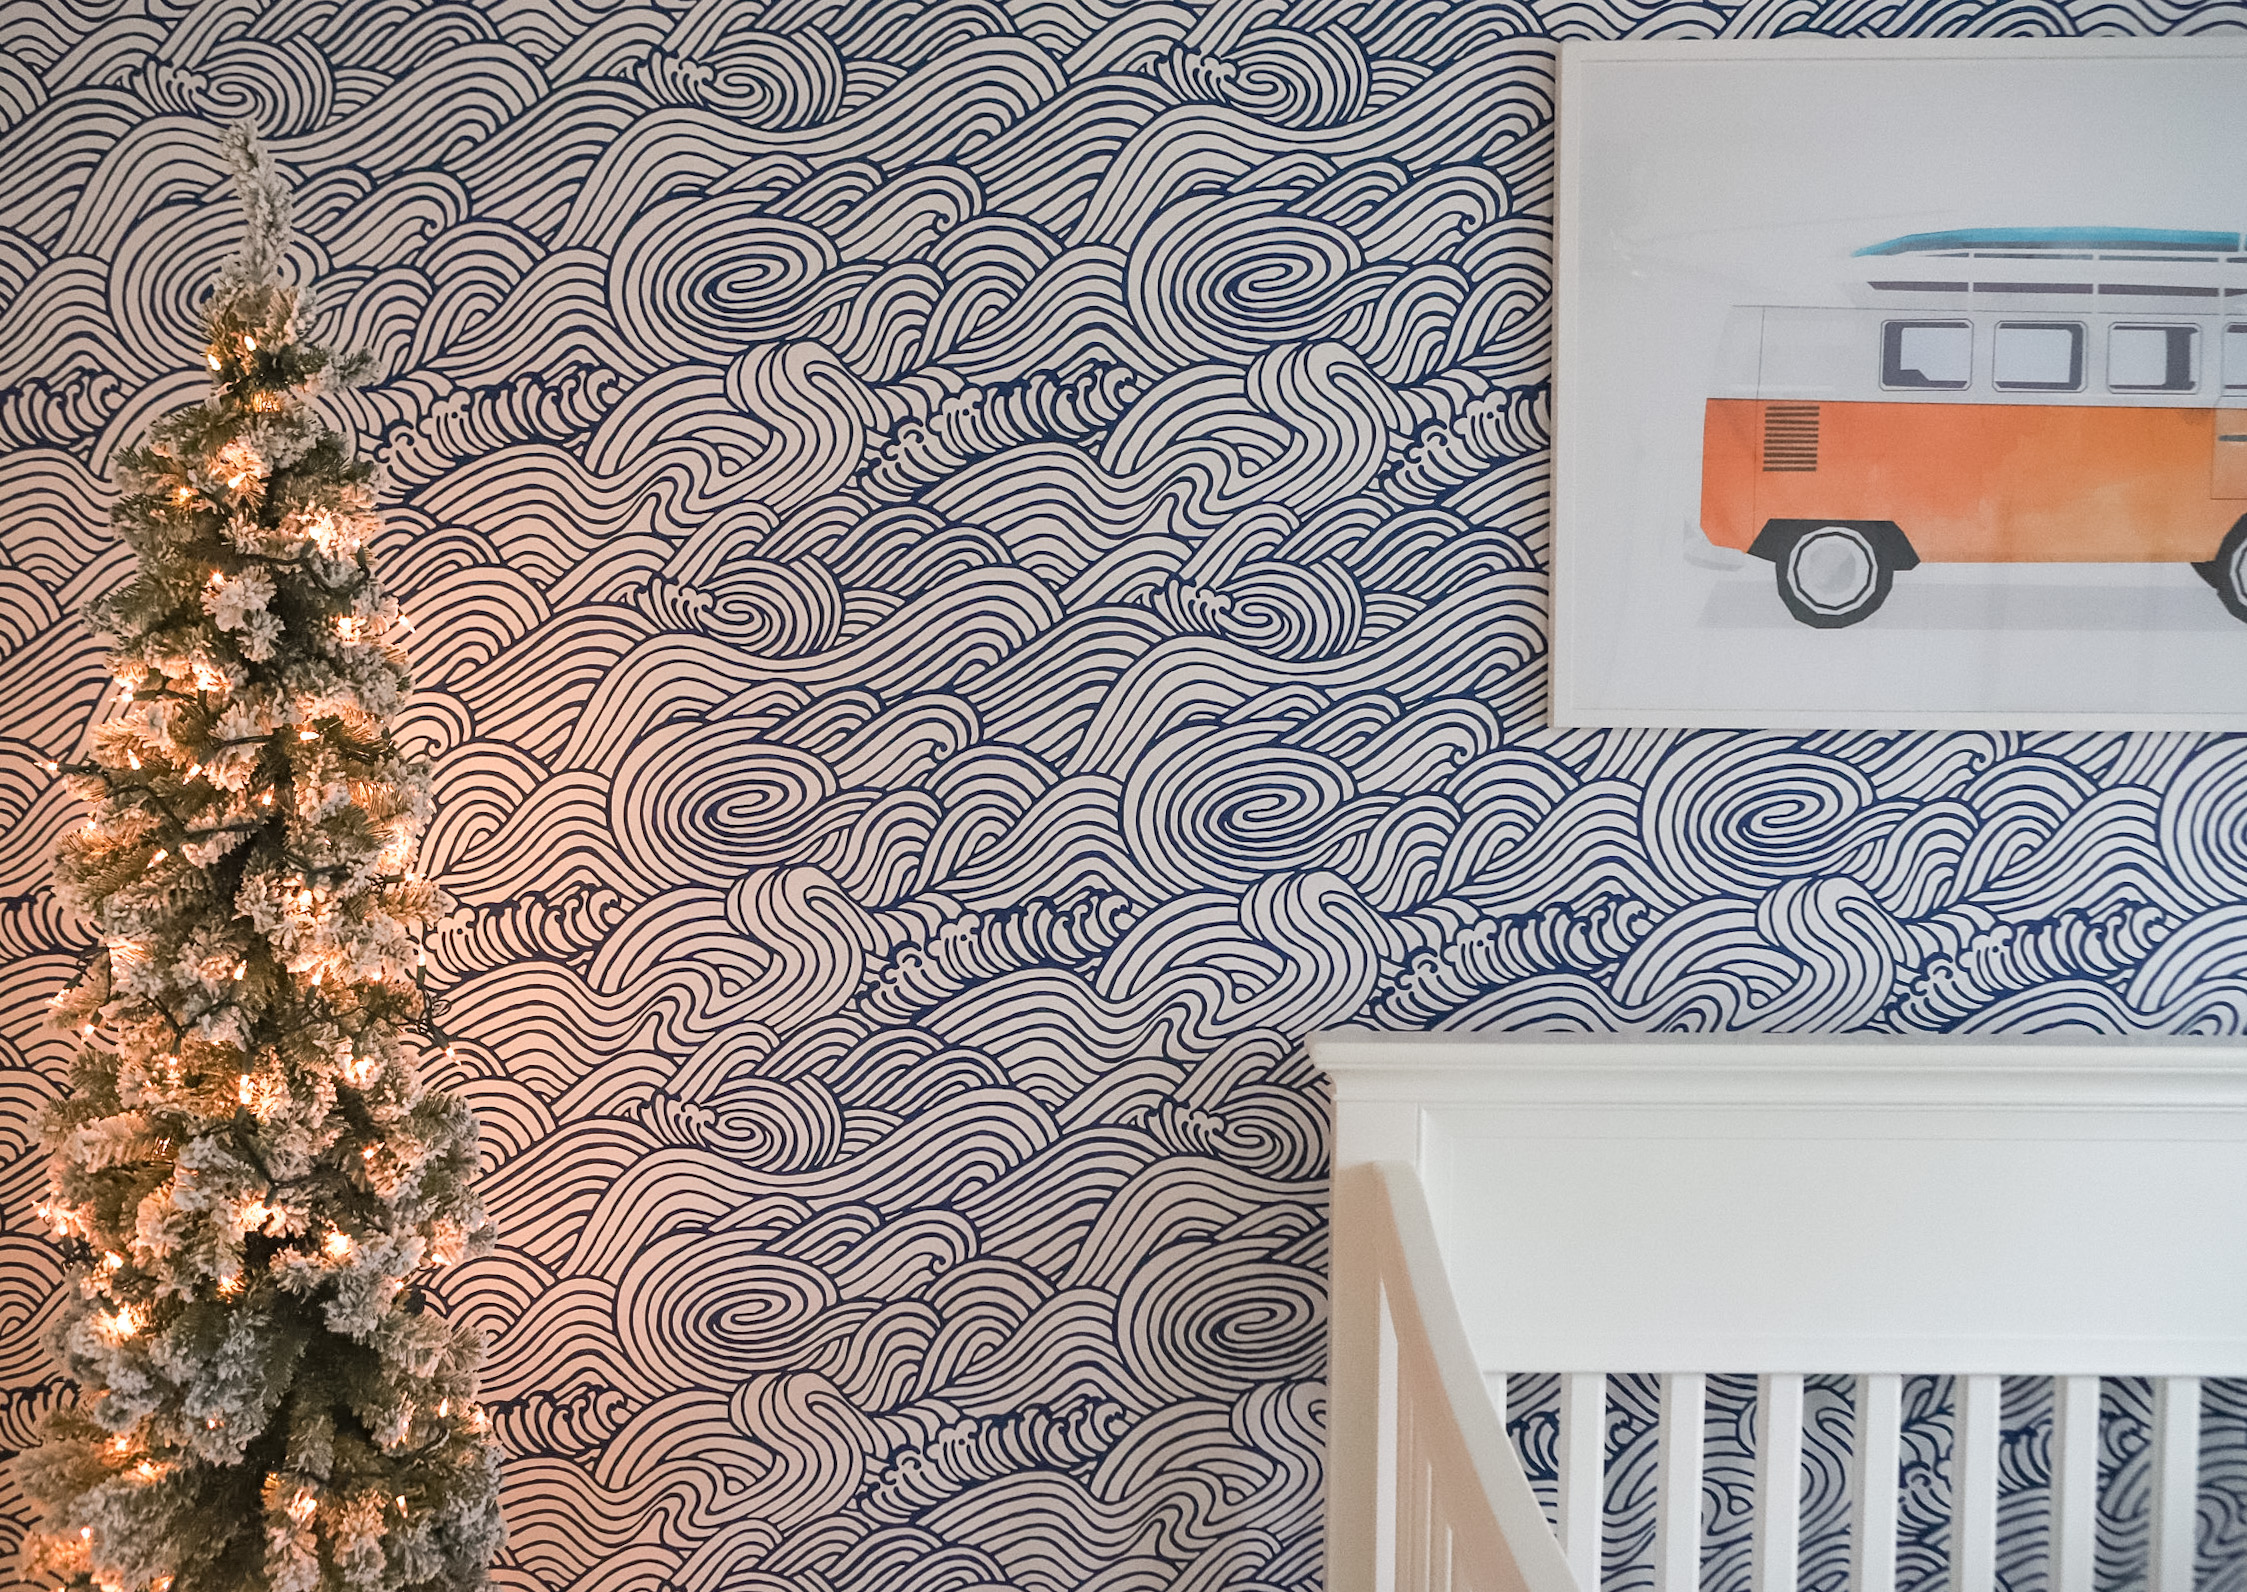
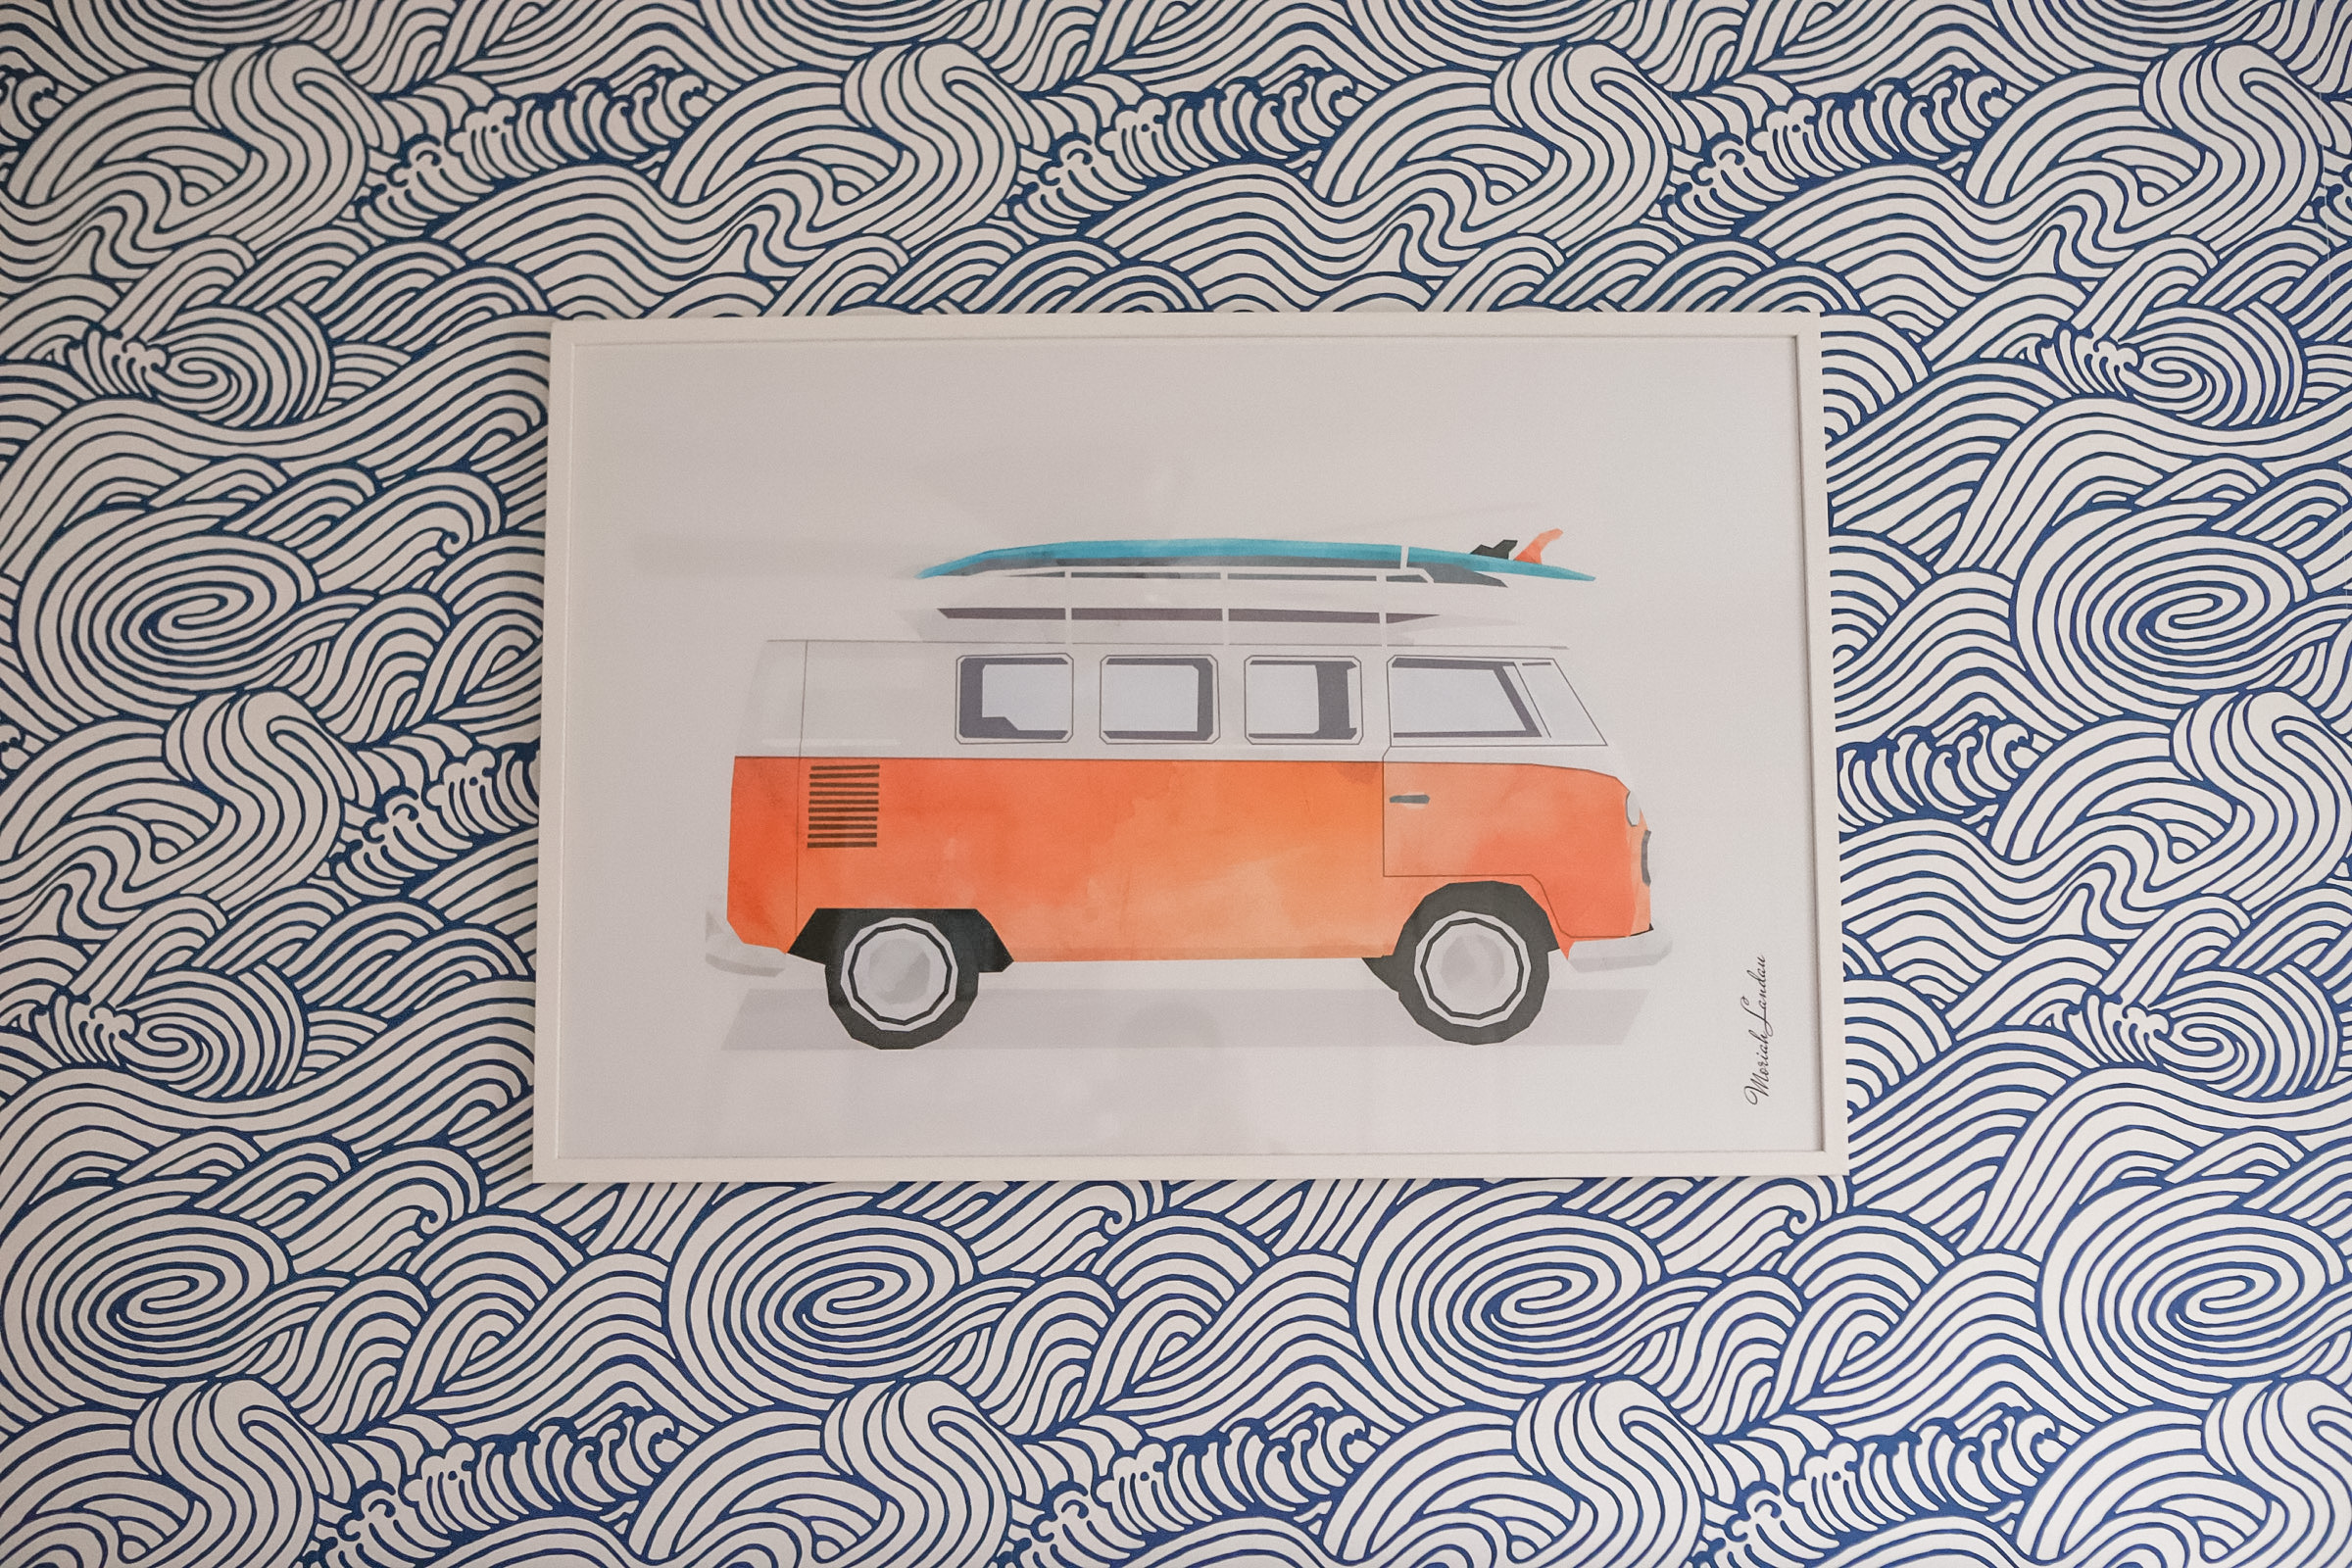
Jack’s mural on the other hand was something I’ve wanted to do for over a year! We we’re in our regular vacation spot down in Sanibel last November and I stumbled upon this funky wave wallpaper at a poké bowl shop. It honestly stayed in my mind for months and I knew I had to find it. I started googling and the rest is history.
I found this paper being sold on a couple of sites (Anthropologie, Amazon etc), but the cheapest I found when I purchased earlier in the month was through Wayfair during their sale.
Our experience with the pre-pasted mural was a little tricky, if I’m being honest. We struggled, stressed and argued our way through, and after nearly half a day – we were done!
Yes, it was challenging, but we loved how it turned out.
As far as the traditional wallpaper goes, we were both intimidated and nervous. We didn’t exactly “ace” the experience previous to this one and assumed this would be more challenging and intricate. I started researching various blog articles and YouTube videos and ultimately decided that this wasn’t going to happen on it’s own, so I bit the bullet and purchased everything.

BOTH my husband and I were shocked at how painless this was and we would both do it again in a heartbeat, so let’s talk about it!
We made plans to send Jack (my 2.5 year old) to my parents so we were toddler free and simply said a prayer that Willow (our 3.5 month old would cooperate). We managed to complete this project within 3.5 hours and Willow napped for 2 of them (thank goodness!).
As far as what I purchased and used, I’ll link everything here…
Total Cost:
- Supplies – $56.43
- Wallpaper – $252.67
- Total – $309.10

Here was my general process,
- Measure & cut first panel
- Measure width of first panel (giving 2 inches of excess) and draw a leveled line vertically so you have a guide in putting up the first piece.
- Apply paste to the wall (check to make sure your wallpaper can be applied this way. Some have to be “booked” – more on that later).
- Apply first panel
- Smooth and wipe panel and surrounding areas clean
- Hold up second panel to line up. Use post-it’s or painters tape to match up pattens so that you don’t have to do this with a pasted and wet wall (I made that mistake).
- Cut general excess off panel so you’re good to go!
- Measure width of the next panel so you have a guide on how far to apply paste. You don’t need a leveled line since your first panel is your new road map in terms of lining things up.
- Apply paste and repeat these steps.
So here are my tips,
- Have another set of hands and eyes for measuring, cutting, lining everything out, smoothing edges and multitasking once you get into a groove. (I personally don’t think this would have been possible to do alone for a full wall. If you have a half wall, it might be possible).
- Research your project before you start and hopefully anticipate anything that could or will go wrong
- Always have some excess in case you make a mistake. I made a decent one and lost a whole panel because of it.
- Don’t rush. The paste didn’t dry immediately and it was pretty easy to work with and make adjustments.
- Use the seam repair and seam roller to fix any edges that need attention
- Use a very sharp and fresh blade! The Exacto knife gets the job done. I used the smoother tool to use as a guide so I had a straight cut along ceiling and moldings.
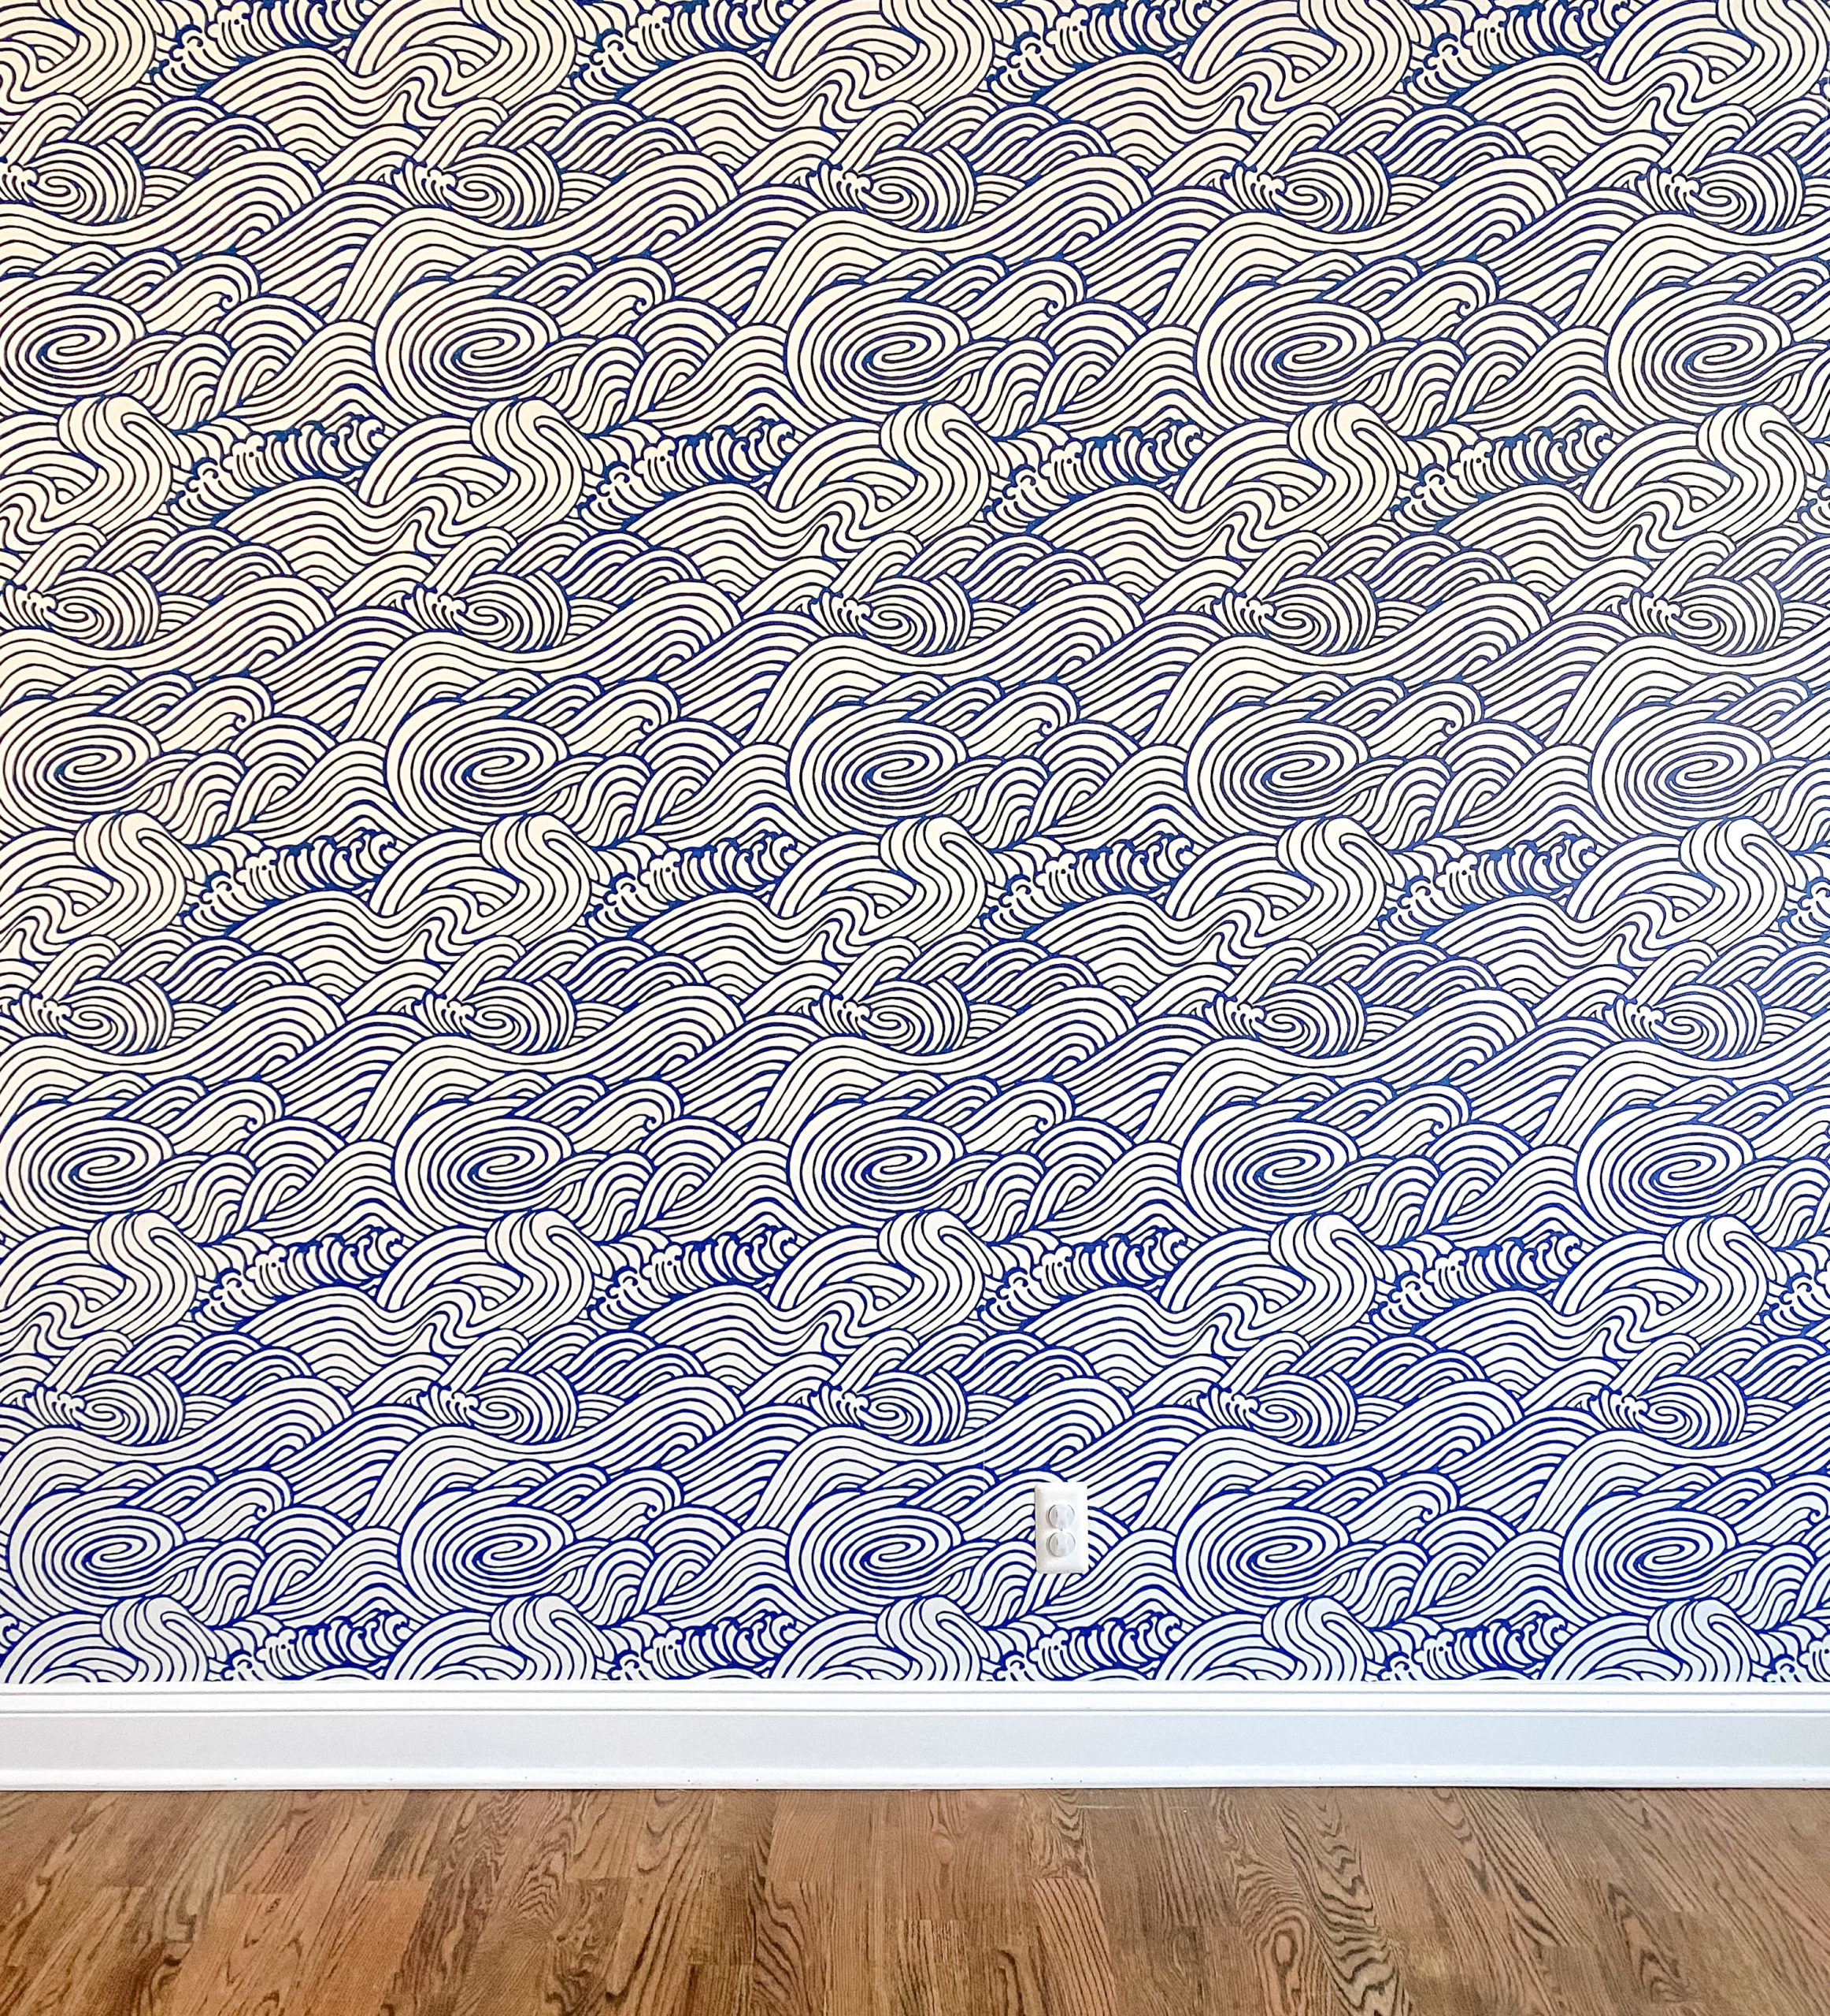
So let’s talk about the differences between the two papers.
The pre-pasted mural already had an adhesive built into the paper, but it requires water to activate that adhesive. You essentially have to lay the full panel out on a clean surface and roll the water onto the paper. You clearly need a clean and large working space and the water can get a little messy. The worst part of this paper was “booking” it. Some papers (pre-pasted and traditional) require you to basically fold the paper onto itself so it can expand/settle. This isn’t difficult, but it’s a pain.

Once the pre-pasted paper was ready to be applied, I felt like you had to rush to get it on the wall because it did dry out quickly. I also felt like the edges needed extra TLC because they frayed often. With the traditional wave paper, the excess paste almost provided an extra seam as you smoothed the excess out from the paper (much easier to work with).
Purchasing a pre-pasted mural saves you time from measuring and cutting the length of panels, but I didn’t find that to be challenging or bothersome with the traditional paper.
Overall, we found Jack’s traditional wallpaper to be easier, simpler and less time consuming than the pre-pasted. It’s the route we would go with if we choose to do wallpaper again (and trust me – I am tempted!).
We have no regrets with either and can’t believe how much doing a mural transformed the look and vibe of each of their rooms!
I hope you’re inspired to tackle you’re own wallpaper project now!


view + leave comments . . .